In order for the landscape in the country to become completed, it is recommended to equip the paths. One of the most durable and inexpensive materials for laying is stone. From this article you will learn about how to properly install gravel and gravel paths, the advantages and disadvantages of such a coating.
Material selection
For the construction of a garden path, these types of materials are suitable:
- Pebble (pebble) - small, medium or large flat stones of a rounded shape, can be sea (smoother) or river (slightly rough). Suitable for any natural soil types. The wide color palette and the cheapness of the material are opposed to the need to install borders or lay a stone with a layer of no more than 7 cm. During walking, it can "part" underfoot.

- Slate - a medium-sized stone with sharp edges, which is obtained by crushing large parts of the same rock into layers. Such tracks do not deform due to good adhesion, make it possible to create unique patterns, but such a coating is traumatic and expensive.

- Gravel - a rock composed of fragments of a smoothed shape, structure - loose, inexpensive option, dries quickly after rain, a variety of colors. There is an opportunity to fit into any cottage design. However, it can only be used for walking paths, as at high loads it breaks, creating difficulties in care. Some types of soil are not suitable as a base. For tracks, it is better to use a stone of a small fraction.

- Crushed stone (granite, traditional) - material with sharp uneven edges obtained in the process of grinding rock. Such tracks are durable, do not crawl, withstand loads well, do not require adjustment. The stone does not slip, does not suffer from temperature changes, suitable for high embankments. However, it can be stuck in the sole, traumatic, and if you use large parts - it will be difficult to move along the path.

- Brick - for laying tracks use a clinker variety of building material. A wide color gamut, durability, the ability to create various patterns withstand the high costs of acquiring material, the need to fill a concrete base and install borders.
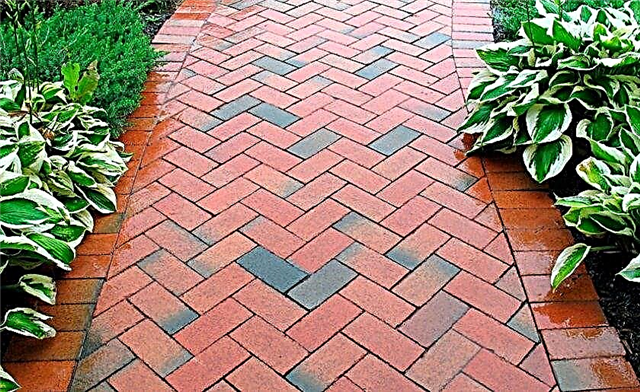
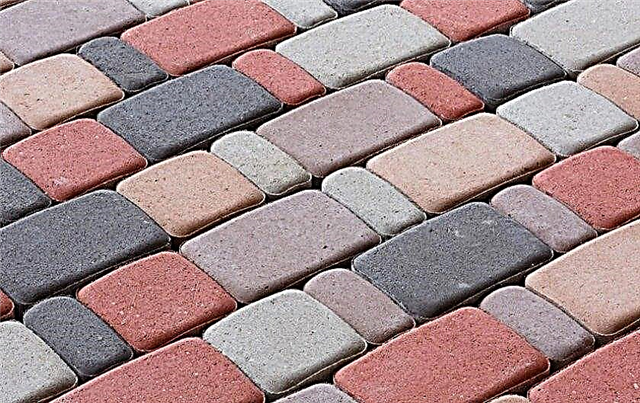
- Paving stones (chipped or sawn) - a rectangular stone with uneven or even edges and a rough surface. Withstands heavy loads, non-slip, inexpensive, fits into the landscape design in the old style.
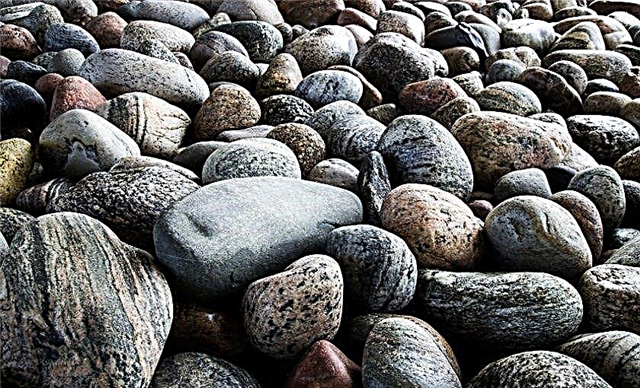
- Cobblestone - small stones with a smooth rounded surface, can be used in conjunction with large (boulders). Do not give in to moisture, frost, temperature changes, are characterized by durability. However, they slide, they need a concrete foundation, they have a uniform color palette.
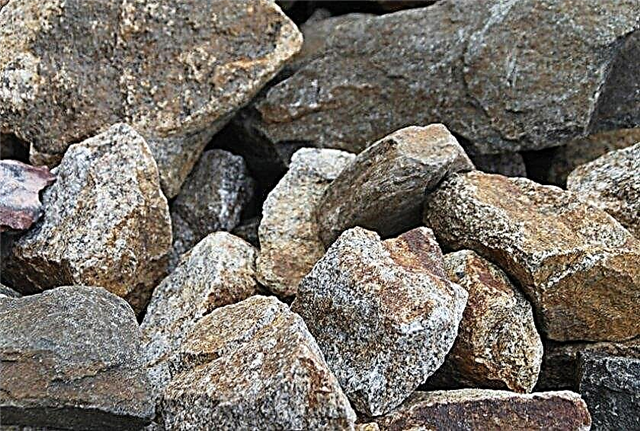
- Quarry stone (wild) - irregularly shaped slabs obtained by crushing dolomite, limestone, sandstone. It is characterized by durability, water resistance, frost resistance, low cost.
- Sandstone - expensive layers of clay, ore, quartz sand or feldspar, painted in a light brown color or other shades. The shape is irregular, the surface is with drops.

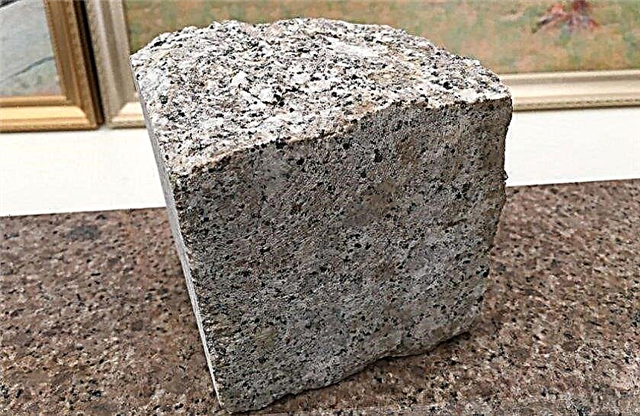
- Granite with treated or untreated surface - strong, expensive breed. It consists of quartz, mica, feldspar, the ratio between which determines the color of the plate. Crushed stone can be made from it by crushing. Resistant to dirt, moisture, frost.
DIY construction steps
The garden path construction process consists of the following steps:
- Selection of materials and tools.
- Marking outlines.
- Digging a trench.
- Installation of borders.
- Making pillows.
- Backfill material.
Important! Granite is characterized by increased radiation background.
Necessary materials and tools
Installation technology requires stocking up on such materials:
- sand;
- geotextiles;
- borders
- breed for pillows;
- plastic lawn grate (for the paths on which the car will ride);
- concrete (cement);
- stone for topcoat.
 By multiplying the length, width and height of the track, you can find out the amount of materials in cubic meters, after which their mass is calculated.
To perform the work, tools and assemblies are needed:
- shovels;
- rake;
- a device for sealing (you can do it yourself);
- concrete mixer;
- rubber hammer for styling;
- roulette;
- stakes;
- rope or flexible hose.
Did you know? Gravel, crushed stone, sand together with cement and water were used for the manufacture of "floating" concrete for the construction of ships.
Markup
By measuring the length and width with a tape measure, outline the paths. To do this, drive in the pegs and pull the string between them. If a track of complex shape is planned, its edges can be marked with a flexible hose. In order not to displace it accidentally, secure it by pressing it to the ground with half rings of wire.

Digging a trench
At the stage of preparatory work, you need to dig a trench according to the marking. This will get rid of the roots of plants and avoid too high embankment. The standard depth of the pit is the bayonet of a shovel. The bottom of the notch must be leveled and tamped.
Installation of borders
The installation of fences-curbs is carried out after the pillow is laid out. If it is made of cement and poured for a long time, it is recommended to apply a layer of soil on top of it - for better adhesion. First you need to drive the pegs in the corners of the track, measure the required height and pull the string separately for each side. Typically, the curb is set slightly above the path. Adhering to the proportions indicated on the package, knead the solution of sand, cement and water. Lay the concrete with a thick layer so that it is slightly wider than the curb. Install the fence, aligning it with a stretched rope.
The following can serve as a border:
- specially designed stone for this;
- wooden bars;
- metal plates;
- bricks;
- stones
- plastic sheets;
- bottles.

Pillow making
Laying the base can be carried out as follows:
- Geotextiles are laid on the leveled and rammed bottom of the trench so that its edges protrude about 0.5 m above the surface. If the base is a lawn grate, it is cut to the required size and laid on the bottom.
- Next, using a shovel, pour out a large fraction of the stone (you can mix it with clay), level it with a rake and ram it.
- The protruding edges of the geotextile are wrapped.
- The next layer (thickness - 10 cm) will be sand. To compact it was easier, it is recommended to fill it with water.
- If it is planned to cement the stone with cement, then the mixed solution, according to the proportions on the package, is poured over the sand.

Filling material
The coating for the top layer of large plates is leveled with a rubber mallet. For adhesion between the individual elements you need to pour sand or pour a solution of one part of cement and three parts of sand, diluted with water to a thick state. You can sow lawn grass. Rubble and gravel of small fractions should be tamped using a special device.
Important! For heavy loads, the track will be “ready” in 2 weeks.
Features of the care and decoration of the track
The bulk path should be periodically leveled and poured, if necessary, a composite. If weeds begin to germinate between the gravel, they are weeded. With the help of a fan rake, garbage, fallen leaves, branches are removed. Using a combination of types, shapes, colors and sizes of materials, you can create unique patterns on paths. Lay out narrow passages between the beds, around the house or flower beds. Large slabs look beautiful surrounded by small stones.
The following styling options are possible:
- flat;
- on the rib;
- an arc;
- in rows;
- staggered;
- arbitrarily.
 The shape of the path can be straight and curved.
Advantages and disadvantages of garden paths
Each type of bulk coating has its own advantages and disadvantages. Most often, gravel and gravel are used, so read these materials in more detail.
Did you know? Marble is characterized by amazing wear resistance. For 150 years, the material has retained its original appearance in spite of temperature changes, precipitation, and the scorching sun.
Crushed stone
- The positive sides of the crushed stone coating:
- Looks good in various design projects;
- suitable for use in various climatic conditions;
- cheapness;
- styling does not require special skills and expensive equipment;
- you can diversify the landscape, creating all kinds of compositions;
- does not slip;
- you can move around the territory after rain without staining your shoes.
- The negative nuances of such coverage are as follows:
- it is necessary to periodically level the surface;
- may damage the sole;
- sharp edges of crushed stone are traumatic.

Gravel
- The advantages of this coating include:
- easy installation method;
- does not require large financial costs;
- endurance;
- lack of dirt and puddles;
- the ability to use in design.
- Its minuses include:
- the possibility of injury from a fall;
- sprouting weeds;
- the need for alignment;
- on such coverage you can not drive a car;
- monotonous designs look too simple.

So, bulk paths of gravel or gravel are an inexpensive option for arranging a summer cottage. You can make them yourself using a minimal set of tools and materials. However, care should be taken not to get hurt about such a coating, and to preserve a beautiful appearance, do not forget to look after it.


