One of the most popular decorative types of flowering houseplants are mini violets. They have a small neat rosette with small leaves and decorate the room with the lush flowering of small flowers. Consider the description of mini-violets, the peculiarities of their cultivation and reproduction, the rules for caring for plants and methods of combating diseases and pests.
Botanical description of mini violets
Thanks to the efforts of flower growers, there are about 3,000 varieties of mini violets. They differ from each other in the color of the flowers, the shape of the leaves and their size.
Did you know? In ancient Rome, a special kind of wine was prepared in the spring, adding violet flowers to it.
Depending on the diameter of the outlet, these types of plants are distinguished:
Consider the botanical description of mini-violets in more detail:
- The flower belongs to undersized perennials with a compact root system. The roots are thin, white.
- The stem of the violet is shortened, the leaves are collected in a basal rosette.
- The size of the leaves depends on the variety and averages from 2 to 4 cm.
- The surface of the sheet is leathery and dotted with small velvety villi. The color of the leaves depends on the variety of violets and can be plain green or spotty.
- The flowers are collected in inflorescences, their size and color also depend on the variety of mini violets. Each flower consists of 5 petals, and a cup consists of 5 sepals.
- The plant can bloom at any time of the year. The fruit of a mini-violet is a small box with small seeds.
Due to the variety of varieties and small sizes of plants, you can collect on the windowsill a whole collection of mini-violets of various colors and shapes.
Did you know? In the scientific literature, violet is also called Saintpaulia - in honor of Baron Saint-Paul, who first discovered this flower in 1892 in the Uzambara mountains in Africa.
Below is a list of some popular varieties of this flower:
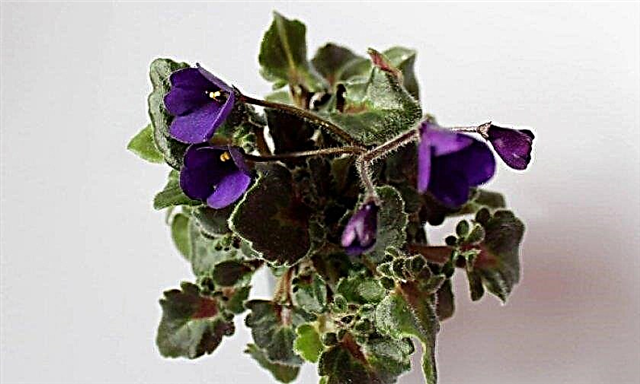
- Max Veri Indigo (Mac's Very Indigo) - halfmini with dark blue flowers and colorful leaves with a light border.
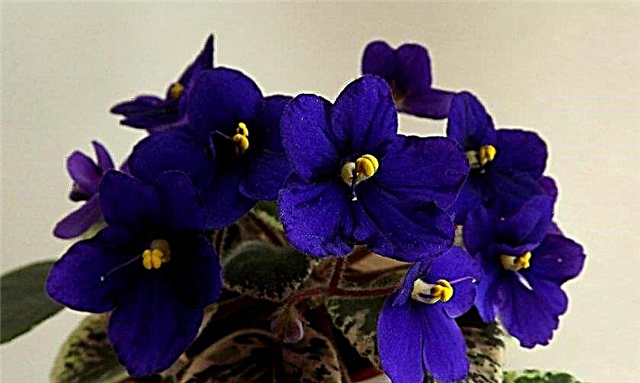
- Baltschug Flight - half-mini with monophonic dark green leaves. The flowers are white, on the edges of the petals there is a purple border.
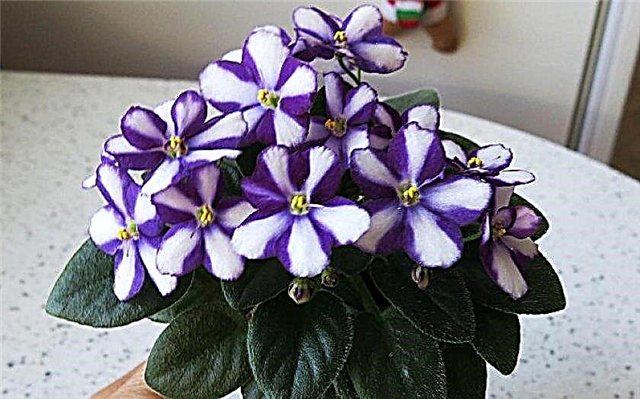
- SK-First Love - mini with tiny dark green leaves and round bright pink flowers.
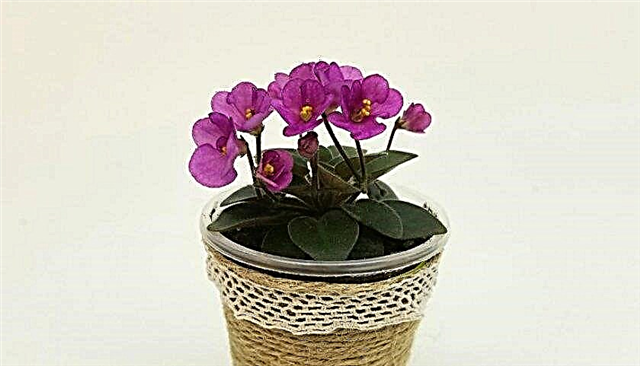
- Allegro Peisley Pony (Allegro Paisley Pony) - halfmini with dark green leaves and lush pinkish-lilac flowers, consisting of many small petals.
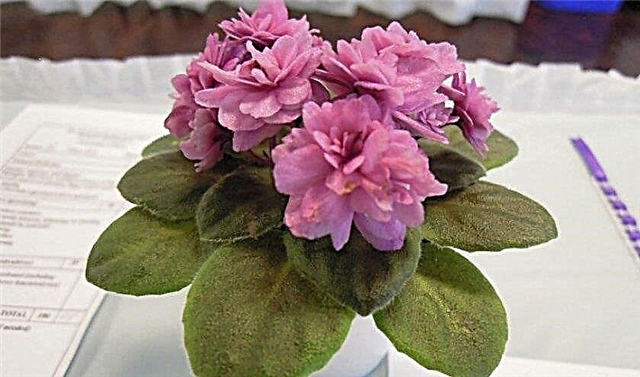
- SK-Volyushka - half-mini with small flowers that have a blue and white color. The flowers are collected in lush inflorescences, the leaves are dark green.

- Baby jay (Baby Jay) - glossy leaves have beautiful jagged edges, and flowers are shaped like bells and are painted in blue or blue.
Planting and placing plants in the room
When growing mini-violets at home, you need to create a microclimate for them in which they will develop normally and bloom regularly. In order for the plant to grow evenly, the leaves are neat and small, and the inflorescences are lush, you must first choose the right place for the flower in the room. How to properly plant a mini-violet is described in detail below in the section "Rules for Transplanting Mini-Violets".
What kind of lighting is needed for plants
Mini violets love bright light and can grow well even under artificial lighting. But it is also impossible to completely deprive them of the sun - the flower will wither away, and its leaves will become weak and small. Basic lighting rules for mini violets:
- The flower should be placed on a well-lit window sill or on a shelf near the window.
- Daylight hours should last at least 10-12 hours.
- When using artificial lighting, plants should be placed near a light source.
- For uniform flower growth, it is necessary to provide him with the same lighting from all sides. To do this, pots with mini violets are placed at a small distance from each other so that neighboring plants do not touch leaves.
- Do not place mini violets in direct sunlight - this can cause yellowing of the leaves.
Requirements for temperature and humidity
The temperature regime is of great importance for the normal functioning of the flower. A room with a mini violet should be at least + 20 ° C. In the warm season, it is recommended to maintain a temperature of about + 25 ° C in the room. In order for the soil in a container with a flower to remain wet longer, you need to maintain at least 50% air humidity in the room.
Did you know? In the language of flowers, violet is a symbol of innocence and shyness, therefore it has long been customary to give bouquets of these flowers to young girls.
In a room with dry air, the leaves of the plant begin to dry out and deform, and in conditions of high humidity they acquire large sizes and look disproportionate to small inflorescences. To increase the humidity level, you can put containers with water next to the plants or place flower pots on a pallet with wet moss.
How to care for mini violets
The flower does not require specific and complex care, so even a beginner can cope with the cultivation of mini-violets. However, it is important to take care of the plant correctly so that it grows normally and delights regular flowering. Full flower care consists of regular watering, timely fertilizing, pruning and transplanting. Consider each of these components in more detail.
Features of watering
Water needs mini-violets in sufficient quantities, especially during flowering and growth phases. And improper watering can harm the plant and provoke the development of various diseases.
Consider a few recommendations for hydrating the flower:
- when watering a violet, water must be carefully poured into the pot from above, closer to its edges;
- all soil in the pot must be moist;
- in the warm season, it is better to water the flower in the morning, and in the winter in the afternoon;
- waterlogging of the soil in the pot should not be allowed - in such conditions, the roots of the violet rot;
- the water should be warm, pre-defend it for 24 hours.
 Sometimes, as a result of excessive drying, the soil in the pot with violet can be separated from the walls of the flowerpot. In this case, it is recommended to lower the violet with the earthen lump into a container of warm water.
Fertilizer and fertilizing
Mini violets need nutritious soil for regular flowering. However, it is not worth oversaturating the soil with fertilizers - this can lead to too active growth of green mass, and the inflorescences on such a plant will look too small. To preserve the decorativeness of mini-violets, it is enough to feed it with complex mineral fertilizers every 14-15 days.
Pruning plants
In order for the flower to retain its decorative appearance, you need to take care of its crown with the help of timely pruning. In addition, it is necessary to remove damaged and old roots in time in order to maintain a healthy and flowering appearance of the plant.
Important! It is convenient to prune the roots of the mini violet at the same time as the transplant, and the leaves can be removed as needed.
Consider the basic rules for pruning the roots and leaves of a plant:
- pruning with a sharp knife;
- remove yellowed and old leaves located on the bottom of the stem;
- prune yellowed and dried flowers as they bloom;
- trim rotten and damaged roots;
- shorten healthy roots by half the length;
- treat the cut points on the roots with charcoal powder.

Rules for transplanting mini violets
A characteristic feature of mini-violets is that it does not need a larger pot in the growth process. The diameter of the flowerpot should not exceed 7–8 cm, since in a pot too large the plant will begin to actively grow and lose its decorative effect. Therefore, usually a flower is transplanted only in order to update the composition of the soil.
Important! To make the flower easier to pull out of the pot, it is recommended to stop watering the plant 3-4 days before transplanting. The earthen lump will dry out and easily separate from the walls of the tank.
Consider a few rules for transplanting mini-violets:
- the plant needs a transplant at least once a year;
- The optimal time for transplanting is the end of January or the beginning of February, but if the plant is grown under artificial lighting, then it can be transplanted at any time of the year;
- transplant a mini-violet into a pot with the same diameter;
- It is recommended to use small plastic containers with drainage holes at the bottom.

A step-by-step instruction of the classic transplant method is presented below:
- At the bottom of a new pot, lay a layer of sphagnum and pour a little fresh soil.
- Carefully remove the mini violet from the old container with the earthen lump. Fluff the soil that has stuck around the roots with your hands, freeing the roots.
- Trim the roots according to the rules described above so that the height of the remaining part of the plant allows you to completely immerse the bare part of the flower stem in a new pot.
- Place the flower in a new pot so that the petioles of the lower leaves lie on the sides of the flowerpot.
- Cover the flower with soil to the very top of the pot. Tamp the soil around the plant with a teaspoon.
- After transplanting, place the pot in a warm place and do not water the mini-violet for 1-2 days.
Did you know? In the city of Parma (Italy) perfumes with the name "Vera Violetta" are sold. They are made from violets according to a recipe invented back in 1870.
This procedure is carried out using the following actions:
- Using a sharp blade, make an oblique cut on the flower trunk at a distance of 1.5–2 cm from the lower tier of leaves.
- Dry the cut at room temperature for 15–20 minutes.
- Fill a new pot with a layer of fresh soil to the very top. In the center, make a recess in the soil, slightly exceeding in size the length and diameter of the stem of the cut off “head” of the flower.
- Set the “head” in the recess and ram the soil around the plant with a teaspoon.
- Pour the stem a little with warm water, put the pot in a container with high sides and cover with a film. Put the container in a warm place with good lighting.
- After 2-3 weeks, the “head” takes up new roots. After that, the film is gradually opened so that the mini-violet gets used to the usual room conditions.
Propagation Features
At home, mini-violets are usually propagated by cuttings. This procedure is best carried out in the warm season. To grow a new flower from the mother plant, you need to separate the green and healthy leaf without damage, and then root it in the ground as an independent plant. To root the cuttings, you can use a soil mixture of the following components:
- nutrient soil - 42%;
- peat - 15%;
- chopped charcoal - 3%;
- perlite - 10%;
- vermiculite - 15%;
- small pieces of sphagnum - 15%.
Consider the process of propagation of mini-violets in more detail:
- Rinse the cut-off sheet of the mother plant in warm water and place in a fungicide solution to prevent the occurrence of fungal infections.
- Cut a small piece (about 1 cm) of the lower part of the leaf stem with a sharp and clean knife. Sprinkle the place of cut with chopped charcoal.
- In a pot with soil, dig a small hole about 1 cm deep. Dip the stalk into it at an angle of 45 ° and lightly sprinkle it with earth.
- Pour the soil slightly with warm water, cover the container with the handle with a film. Put it under a bright source of artificial lighting. As needed, moisten the soil in the pot.
- It takes several weeks to root the cuttings. As a result, small children with new leaves appear on the young sprout.
- When 6-7 new green leaves were formed on the children, they are planted in individual pots with ordinary soil for indoor plants.
If the lower leaves begin to deteriorate on a young violet, then they are carefully removed, and more soil is poured around the stem.
Diseases and Pests
If the flower suddenly begins to wither, then this may indicate the presence of diseases or the appearance of pests. To save the violet, you need to correctly identify the problem and begin treatment.
Important! After buying a mini violet in a store, it is recommended to keep it separate from other indoor flowers for 1 week. This will help to avoid the disease of all plants, if the purchased instance suddenly turns out to be infected with the disease.
Consider a list of possible diseases and pests of plants:
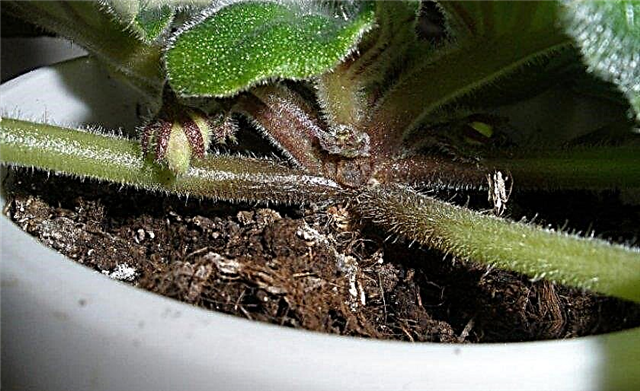
- Root rot. It arises as a result of plentiful watering in combination with cool air in the room. The flower begins to fade and stops growing. With root rot, the roots of violets become brown or black, lose their elasticity. Damaged areas must be cut with a sharp blade, and the cut points treated with crushed charcoal. Then the violet is transplanted into new soil and the conditions for growing the flower are adjusted.
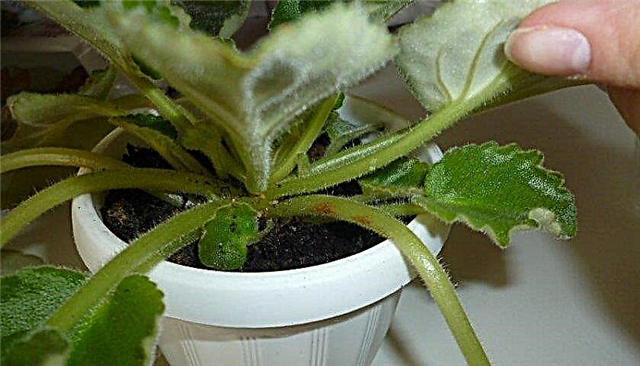
- Sunburn leaf. It appears in the form of yellow spots on a leaf plate. The leaf begins to dry and falls off. The problem appears on plants that are exposed to direct sunlight. The burnt leaves are cut off and the violet is moved to a less lit place.

- Mealybug. Signs of the pest are a waxy coating and sticky sugary discharge on the surface of the leaves and stem. Mealybug appears in conditions of low humidity and drinks all the juices from the leaves. The violet begins to fade, the flowers fall. To combat the pest, leaf washing with soapy water is used, which helps to remove the worms from the plant. Then the violet is sprayed with infusion of garlic or diluted tincture of calendula.
Mini-violet will not take up much space in the room, and its decorative appearance and bright flowers will be an excellent decoration for any interior. To maintain a healthy and flowering appearance of the plant, it is enough to use the simple recommendations listed in the article on the care and cultivation of a flower.


